
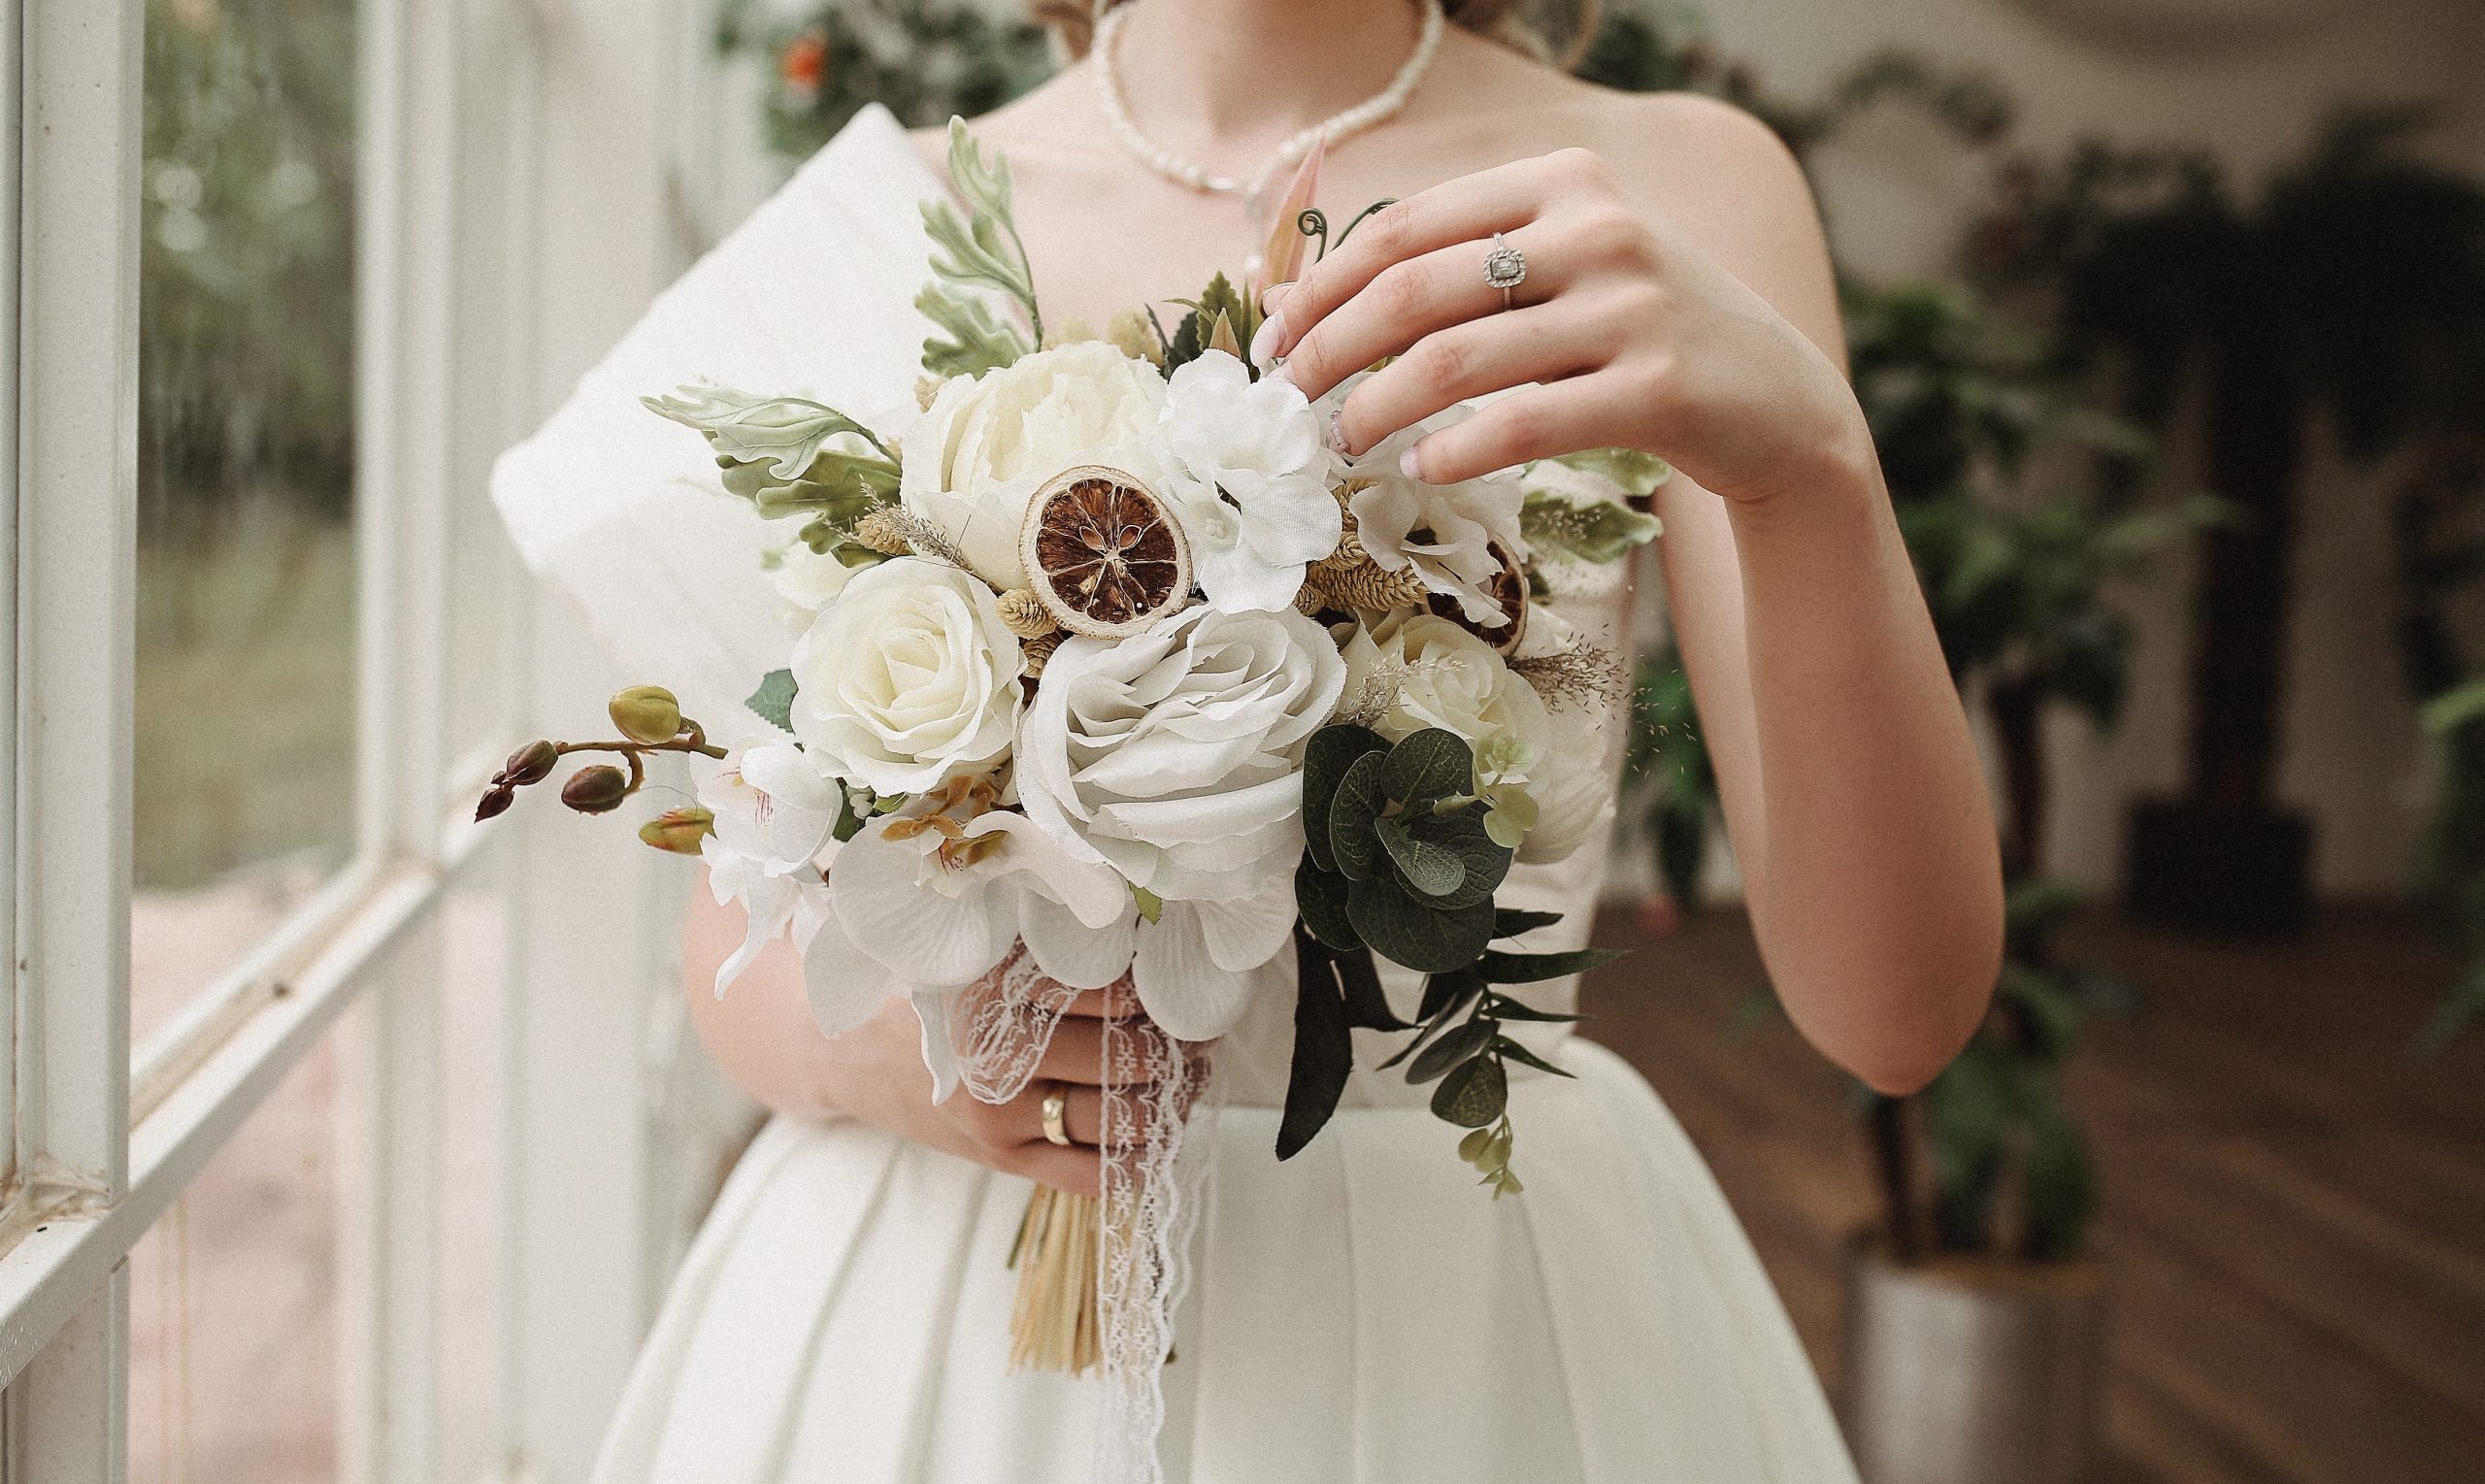
The Hidden Meanings Behind Popular Wedding Flowers
February 8, 2023
The Best Indiana Native Plants to Plant for Your Landscaping
April 1, 2023

Quality floral arrangements can add life to any space and are a great way to brighten up someone’s day—but choosing and organizing the flowers yourself can feel intimidating. Thankfully, you don’t have to be a florist to create beautiful arrangements!
Whether you’re picking flowers from your own garden or grabbing them from your local florist, you can do more than just plop them into a vase. Read on to learn the eight steps of designing and creating a floral arrangement any florist would be proud of!
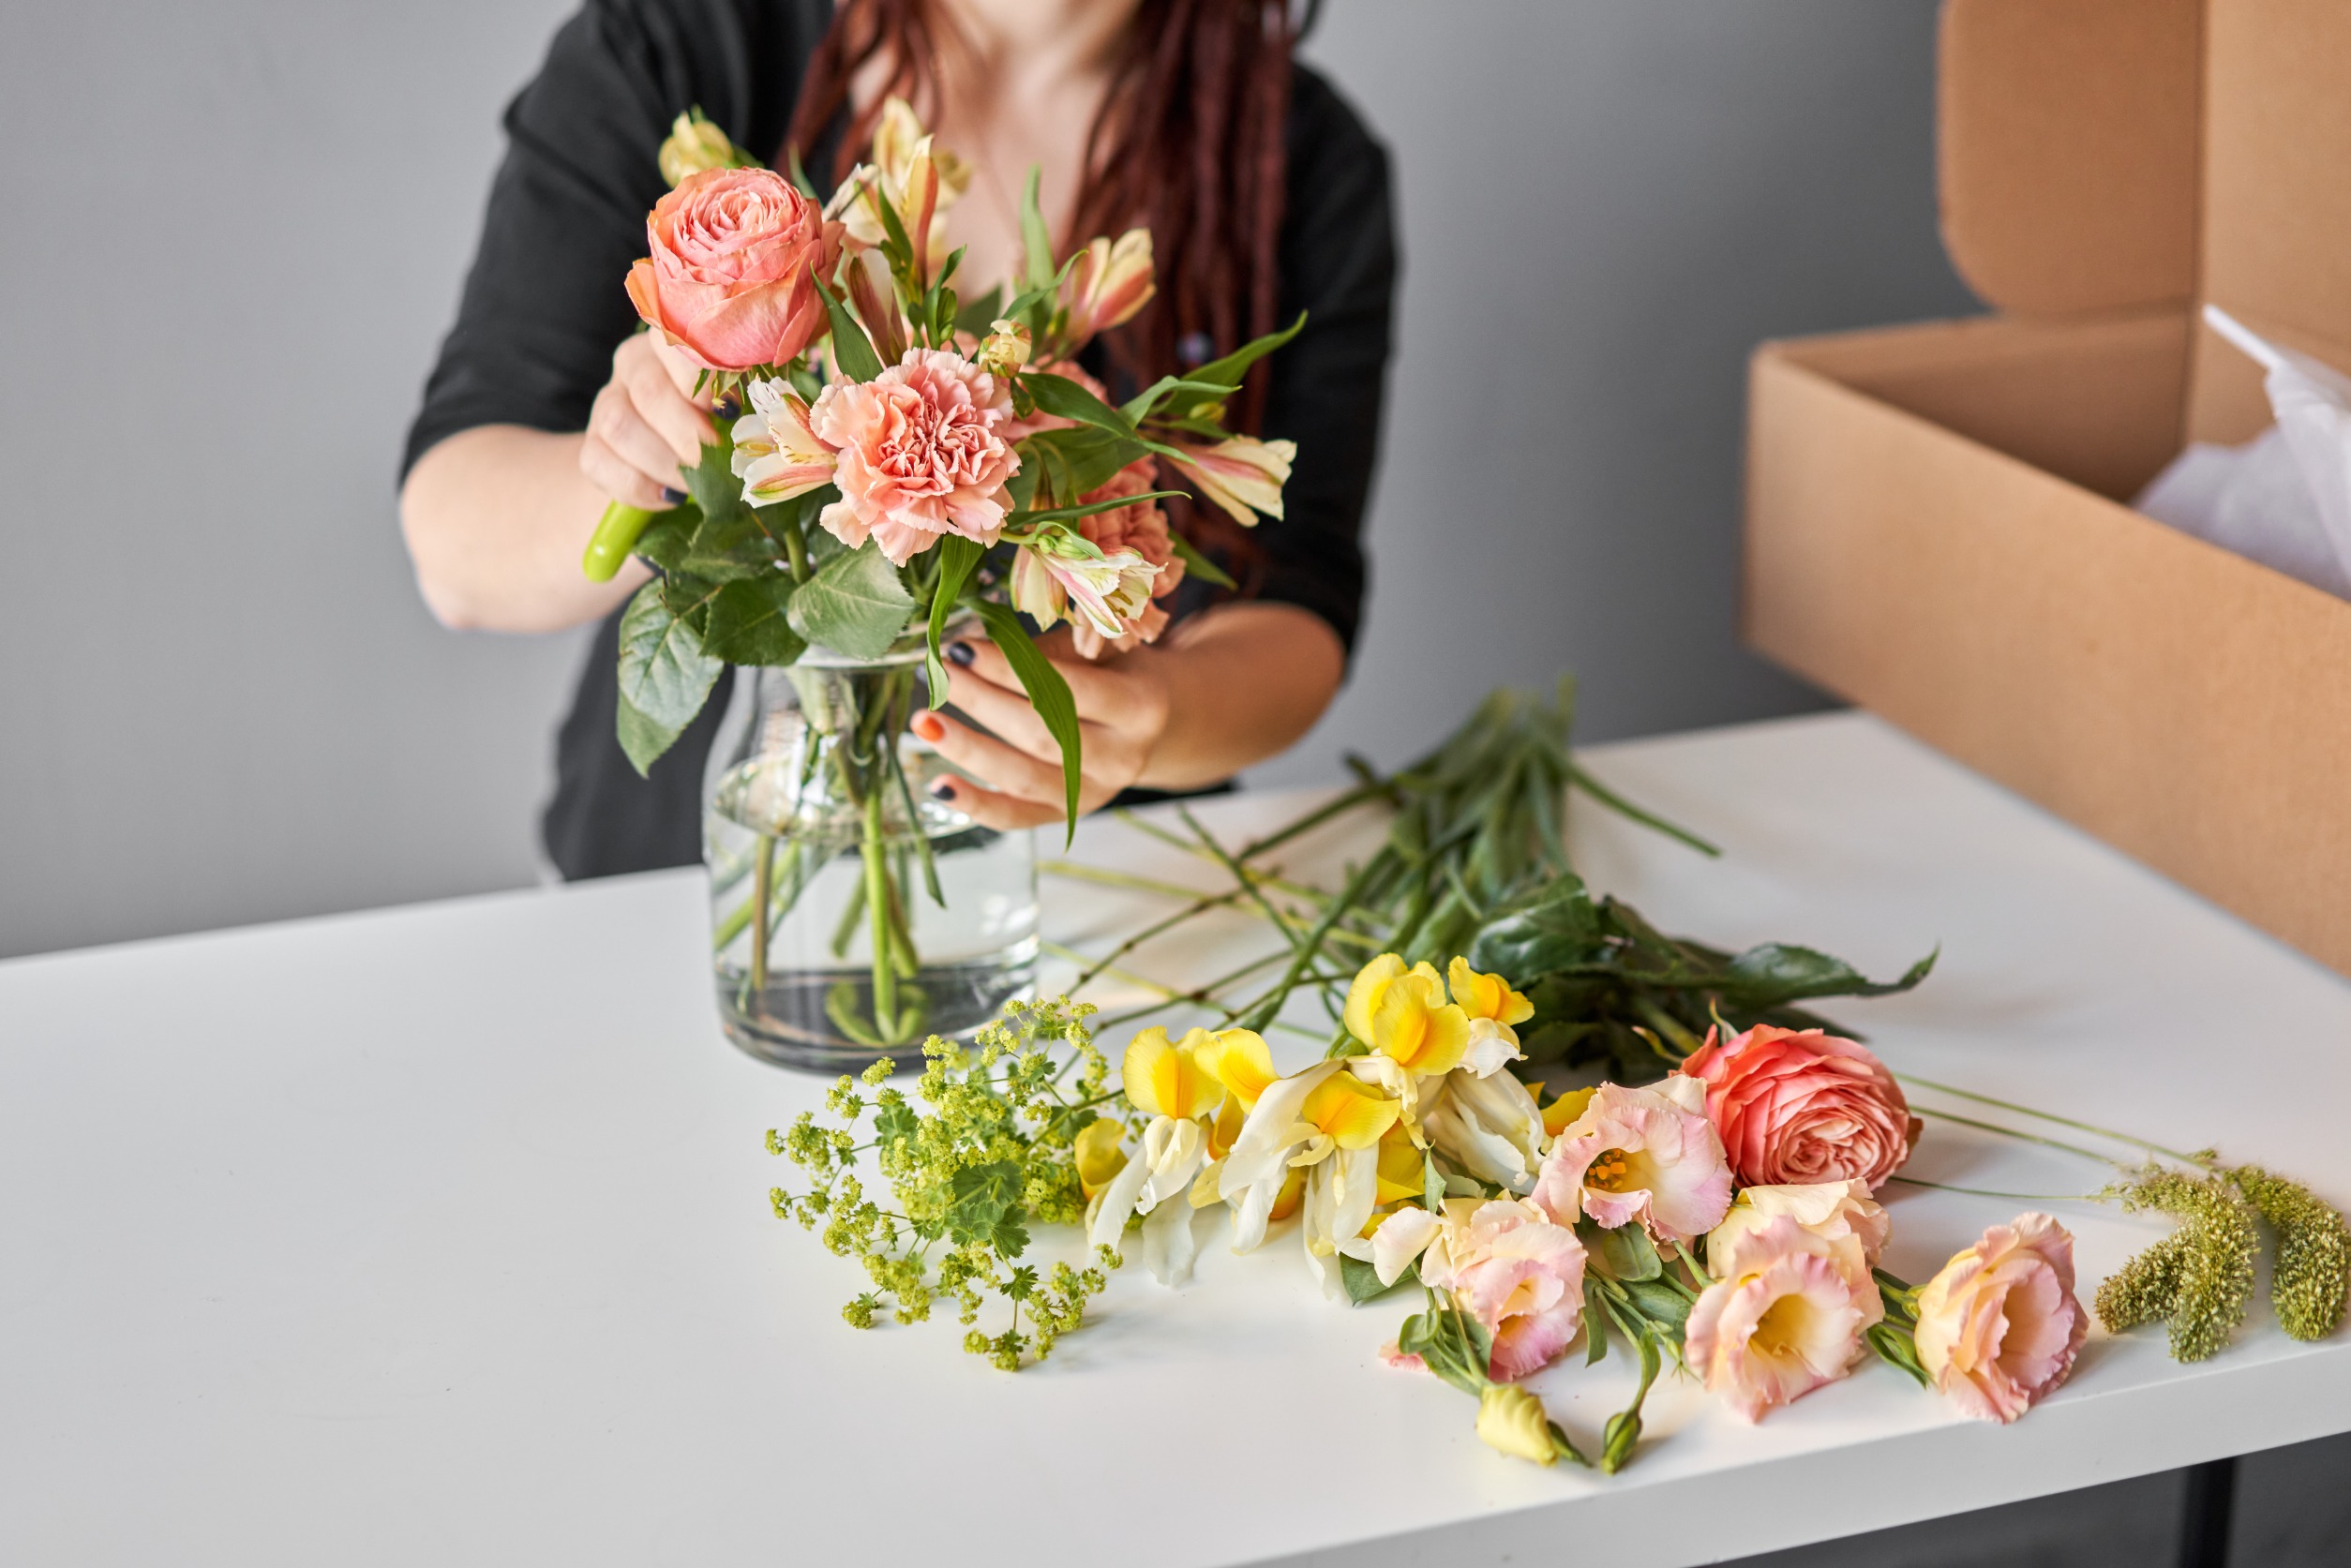
1. Gather Supplies
The first step in creating a beautiful floral arrangement is collecting your supplies. You’ll need the following items:
- Vase
- Flowers
- Focal plants
- Filler or smaller plants
- Greenery
- Scissors
- Water
- Tape (optional)
2. Select Flowers and Plants

The most important part of any floral arrangement is what you decide to put in it! Most arrangements include three different types of plants: greenery, focal plants and flowers, and filler or smaller plants.
Greenery gives your arrangement balance, both physically and visually. They give a green backdrop on which you can display other colorful plants and flowers. Ferns, eucalyptus, and ivy are commonly used in floral arrangements.
Focal plants and flowers are the main event! These are the flowers or plants that you want to be front and center. Usually focal plants are the largest pieces in the arrangement. For example, lilies, roses, and sunflowers can be great focal flowers due to their sizes and colors. Choose your favorite flower or something with a unique color or texture to make your piece really pop!
Filler or smaller plants are exactly how they sound. These plants are smaller than your focal plants and are used to fill in the gaps between those and the greenery. Florists commonly use plants such as baby’s breath and jasmine. It’s recommended that you select plants with colors that are similar or complementary to the focal plants to create a more cohesive look.
3. Select a Vase

While many people think one vase fits all, some plants require you to choose a specific vase structure in order to keep them upright. For example, an hourglass vase would work perfectly for floral arrangements featuring larger bulbed flowers such as hydrangeas and roses. Meanwhile, long-stemmed flowers—such as daffodils and sunflowers—prefer a tall and narrow vase. Because of this, it’s important to keep in mind what kind of flowers you’re looking to showcase when deciding on a vase.
4. Prepare Your Flowers and Plants
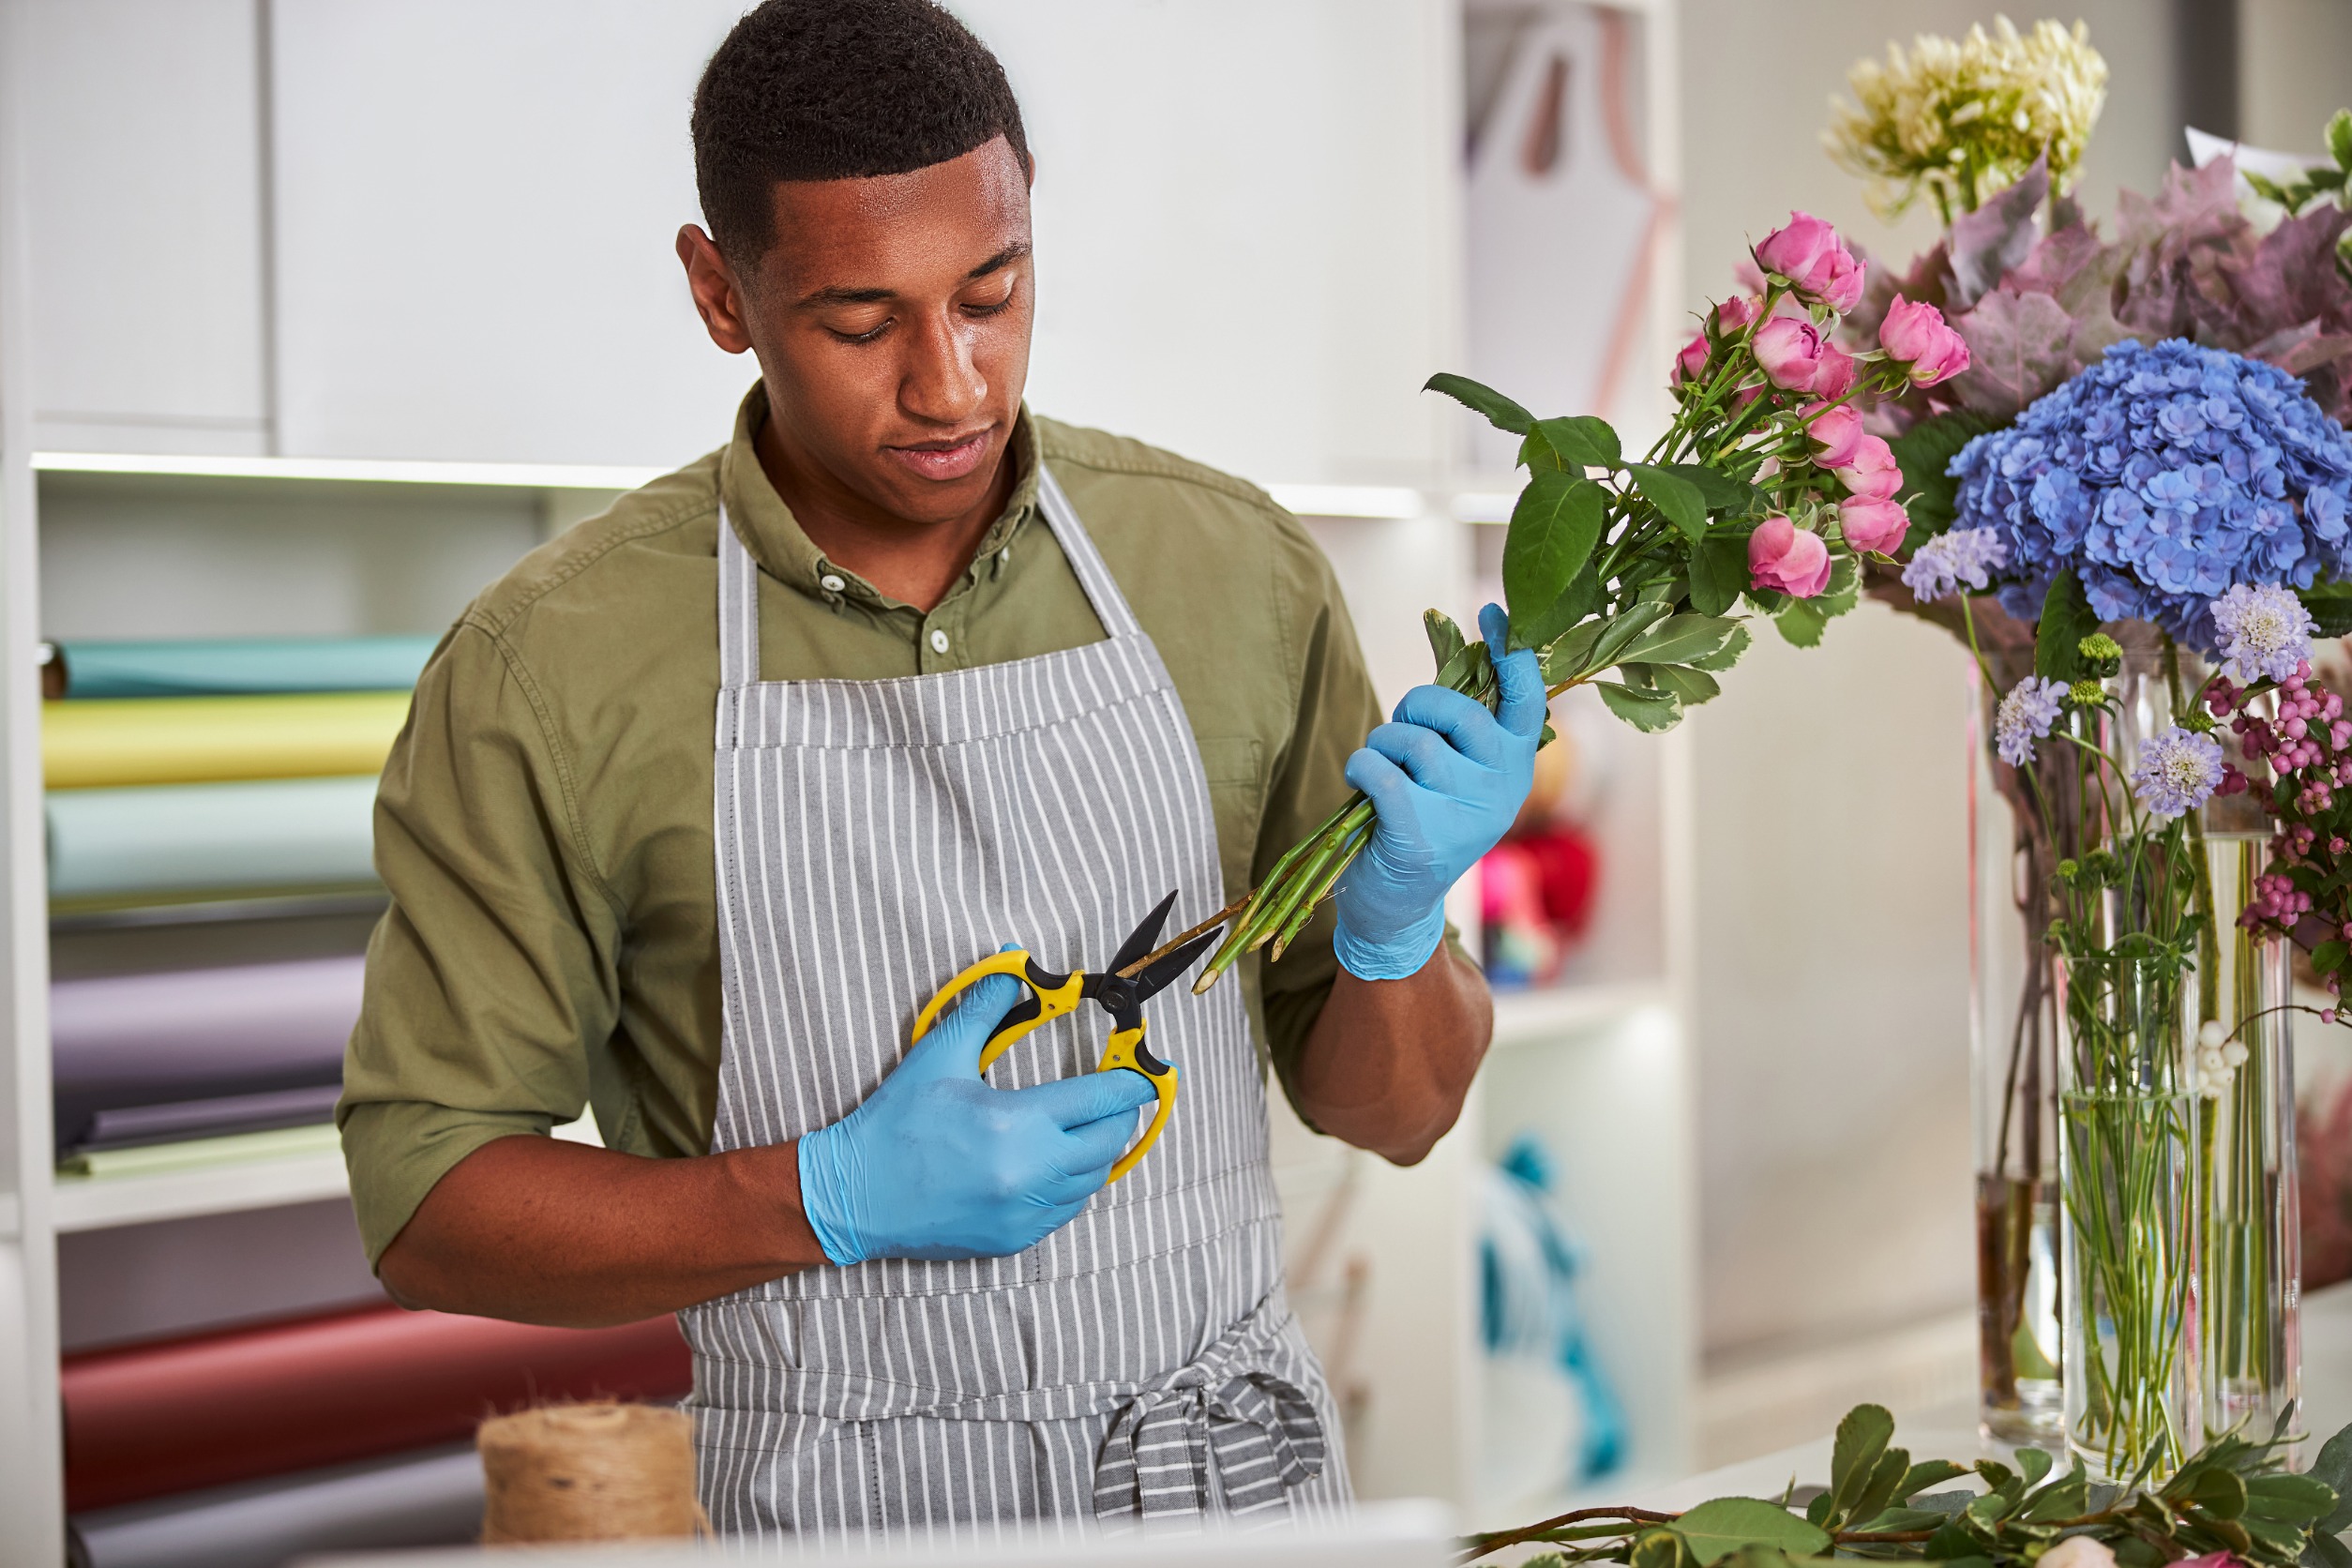
Your plants and flowers need a little grooming before they become a masterpiece! First, clean off any additional dirt or debris from your plants’ stems. Then remove any extra stems, leaves, or wilted flowers, especially if they will be below the water level in your vase.
Speaking of your vase, you will need to cut your flowers based on the size of the vase to ensure they fit perfectly. However, your plants don’t have to all be the same height. If you vary the heights slightly, you can add dimension and shape to your arrangement. When cutting your flower stems, be sure to cut at a roughly 45° angle. This allows your plants to maintain proper water intake and last longer.
5. Create a Foundation

Any artist will tell you how important it is to start with a good foundation, and floral arrangements are no different. To create this foundation, place your greenery in the vase so it gives the shape of an inverted triangle. Be sure to crisscross the stems to create a loose lattice structure. This will create a steady base for your focal and filler flowers to rest on and give a visual balance to the completed arrangement.
If you’re struggling with creating a solid foundation with greenery alone, you can also use tape to structure your piece. Simply create a grid pattern out of the tape over the mouth of the vase. Then place your greenery through the slots you’ve created. They should be well-supported and ready to take on your focal and filler plants!
6. Add Focal Plants
It’s time to put your focal plants in the spotlight! Place your focal plants and flowers throughout your piece or in a central location一depending on the look you are going for. If you’re using flowers with heavier bulbs such as dahlias or roses, try not to place these flowers standing straight up. This will cause your bulbs to droop and look wilted. Instead, place your flowers at different angles to keep them looking fresh.
7. Add Filler or Smaller Plants
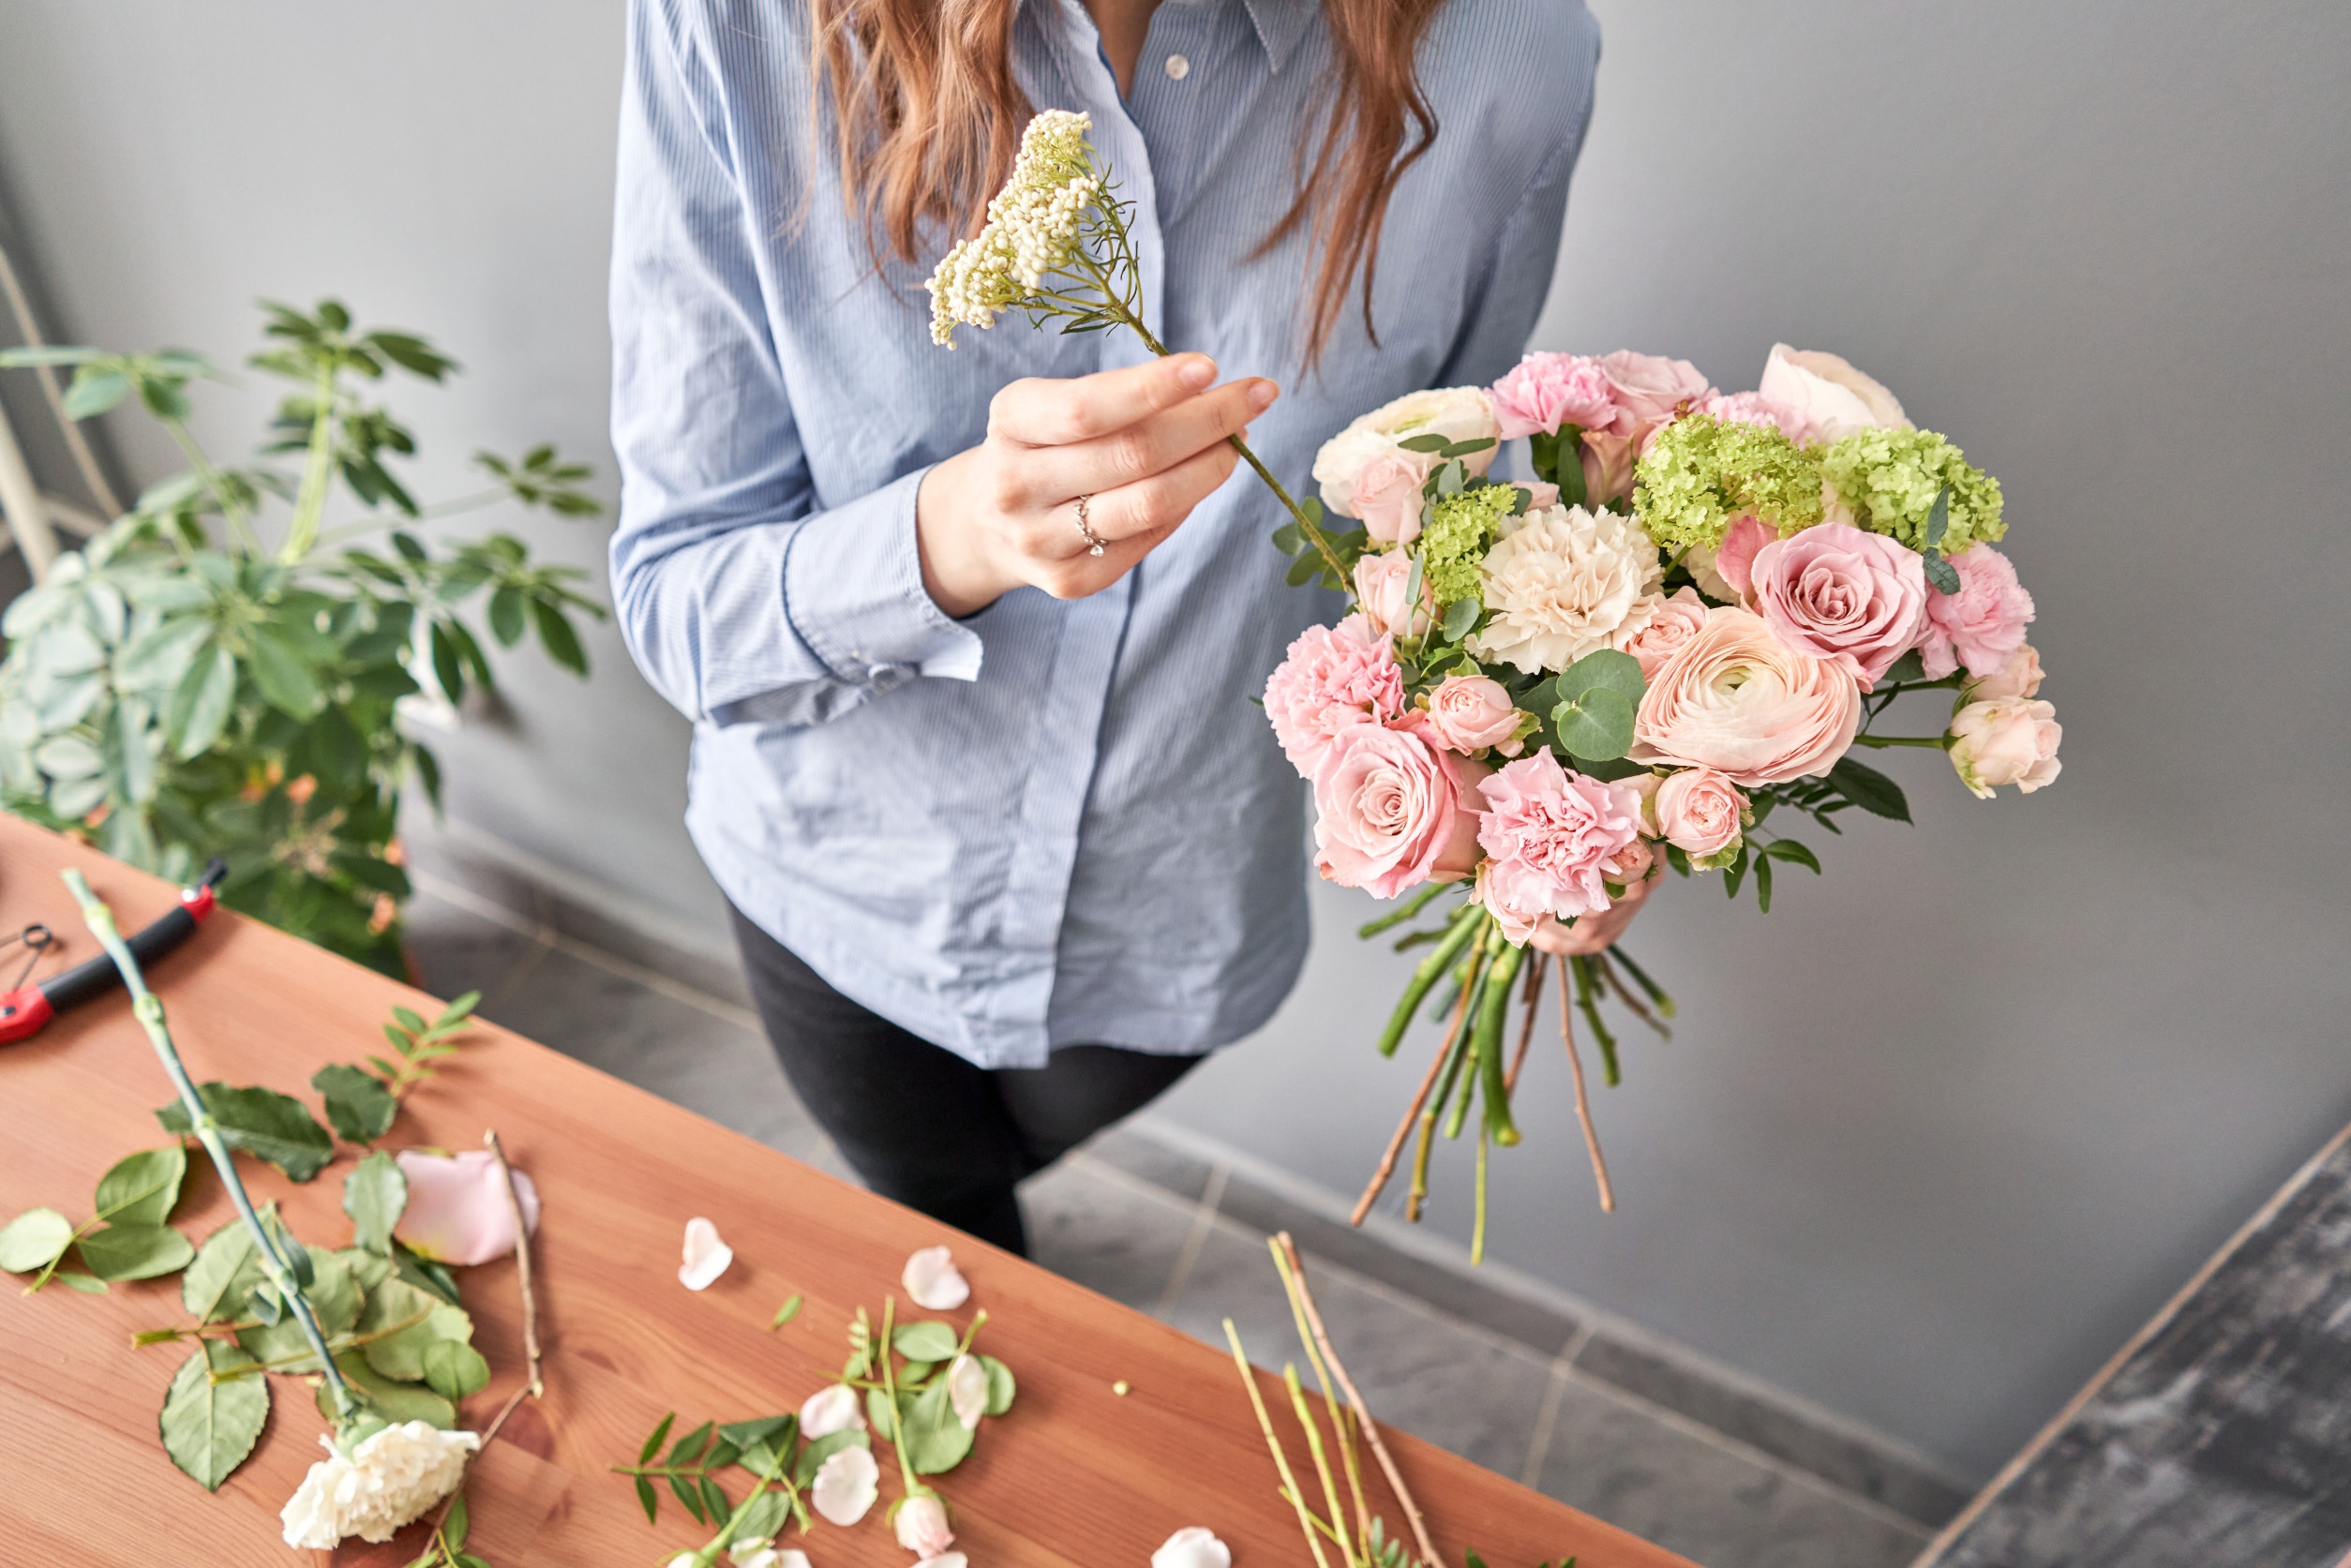
Place your filler or smaller plants in the gaps between your focal plants and the greenery. Add as many or as few as you’d like. Be careful not to go too overboard though一otherwise you may lose focus on your focal plants.
Much like with the focal plants and flowers, try not to have all of these standing straight up. Angling your filler flowers can give your arrangement shape and dimension. Traditionally, you want to imagine the top of your piece as a dome, but don’t be afraid to get creative and experiment with other shapes and designs!
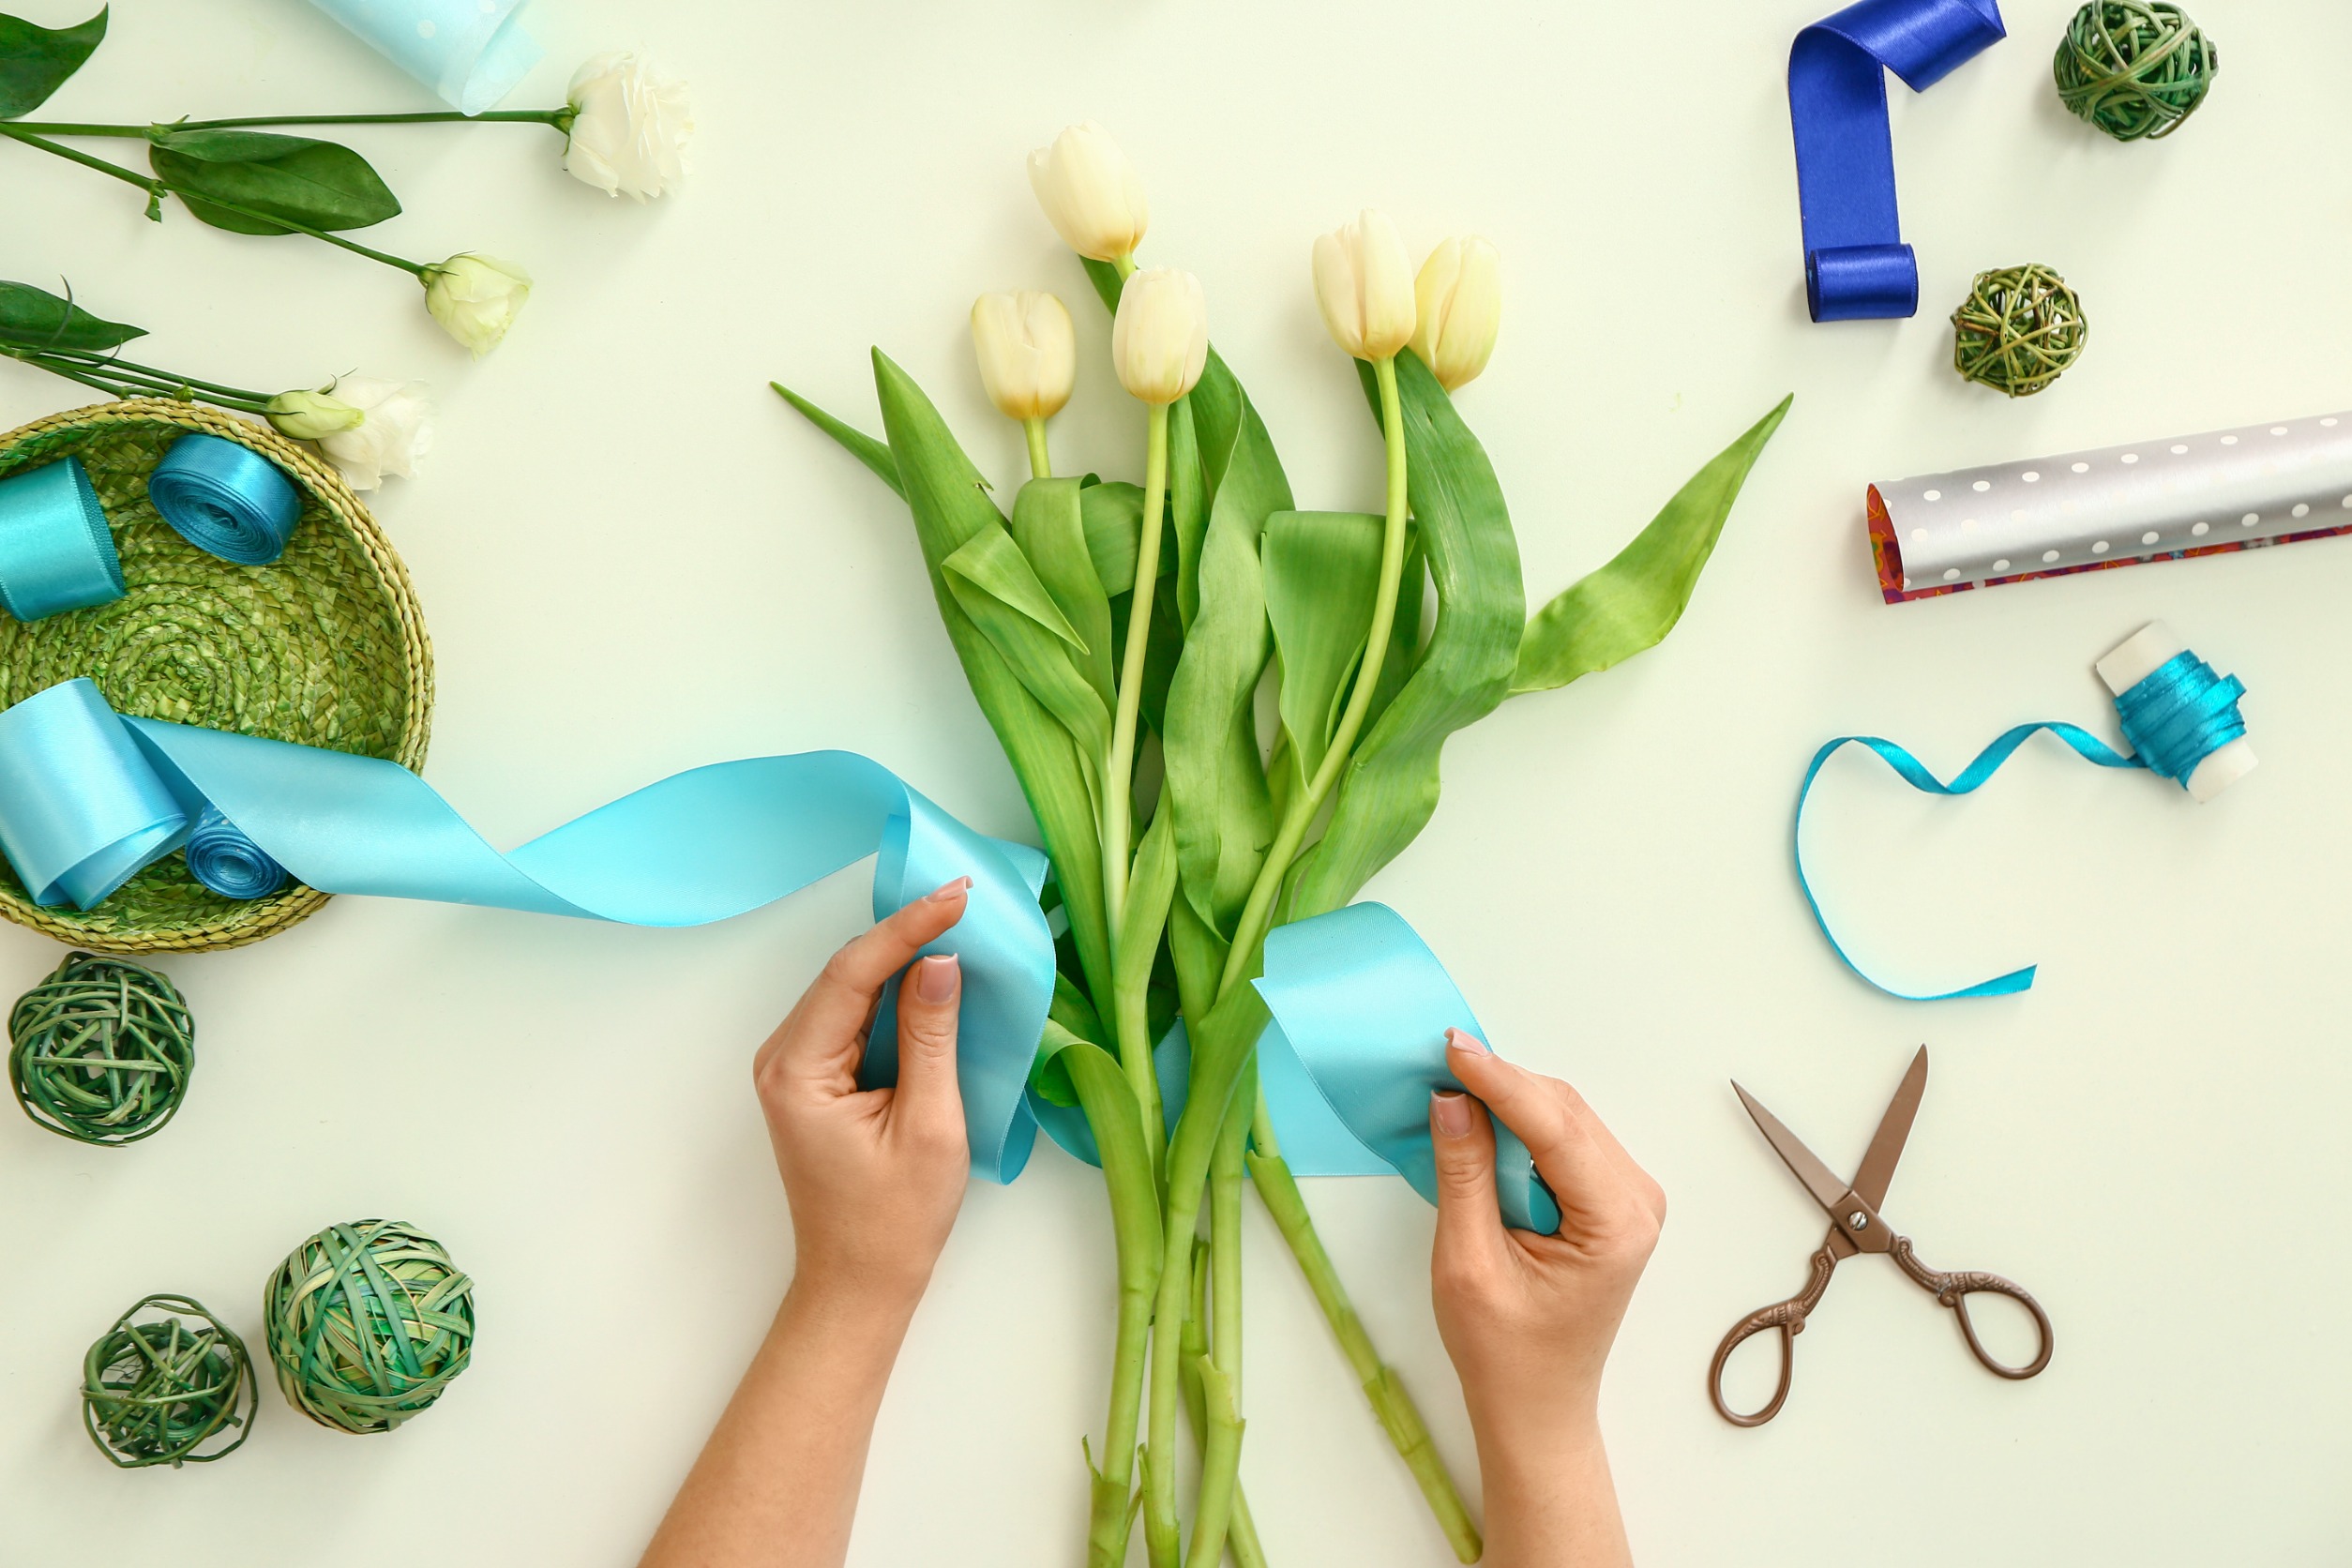
8. Finishing Touches

With the flowers in place, it’s time to finish off your arrangement with a few final touches. You can make your piece look polished and professional by adding a bow or ribbon around the stems or vase. Or you can create a unique look by adding uncommon elements such as seashells, dried fruit, and branches. The possibilities are endless!
And there you have it! You’ve created a gorgeous arrangement that can liven up any space or bring a smile to someone’s face!
If you still have questions about what materials or plants to use or would like to consult with a professional on how to make your arrangements last longer, contact your local florist today!

At Clark’s Garden and Floral Boutique, we know the joy and comfort that flowers bring. Because of this, we’re focused on helping people create memories, celebrate and connect with each other, and add beauty to any space. Visit us on Facebook and Instagram.

